Automating purchase approvals in Business Central with Power Automate illustrated as a workflow diagram showing a purchase document moving between Business Central and Power Automate with approve and reject decision options.
|

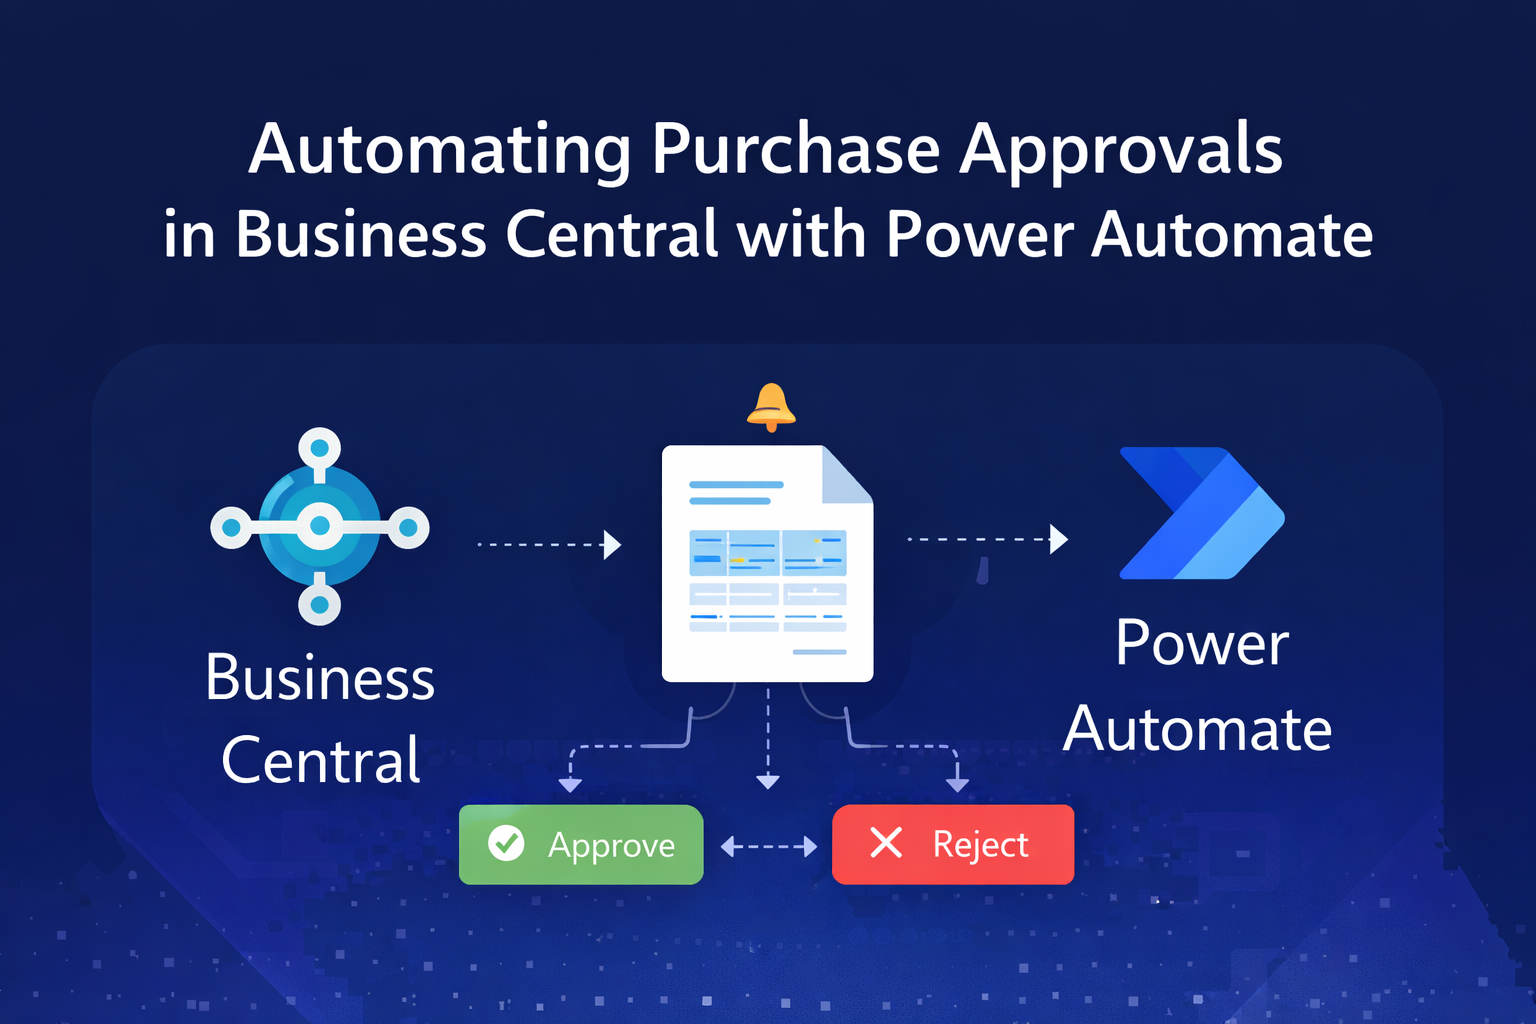
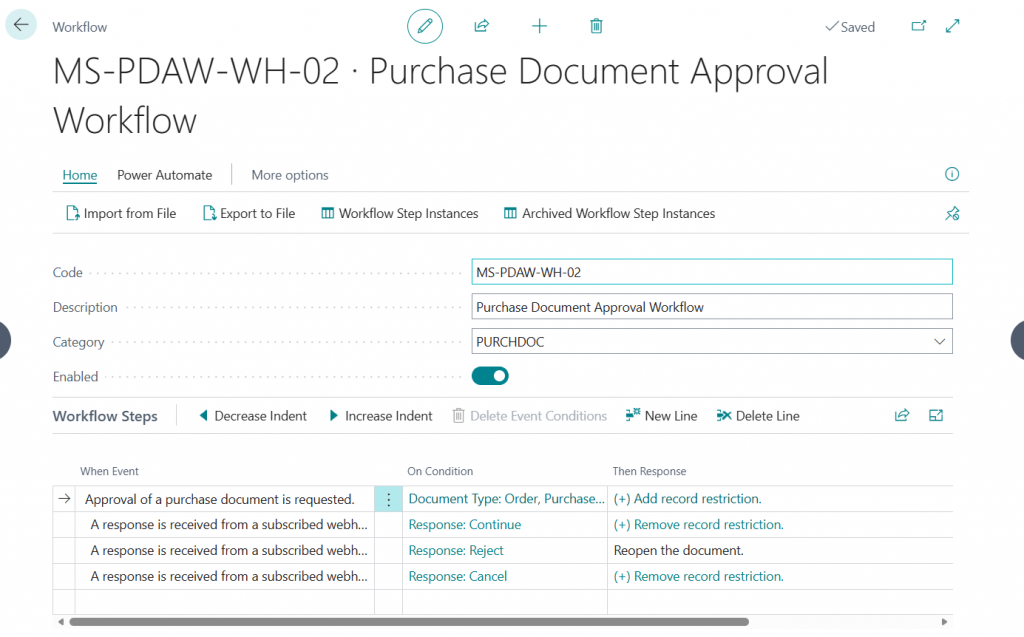
Automating Purchase Approvals in Business Central with Power Automate

The Problem

Most businesses don’t have a system problem with purchase approvals — they have a process problem.

Approvals sit in inboxes, get missed, or happen outside of Business Central entirely. Someone sends a message, someone replies “approved”, and suddenly you’ve got no audit trail, no control, and no consistency.

In this post, I’ll walk through how we solved that by building a fully automated purchase approval process using Business Central and Power Automate — enabling approvers to review and approve orders directly from their email, while still respecting approval limits and keeping everything inside the system.

Getting the Purchase Workflow Started In Power Automate and BC

First we need to add the trigger.  The starts the flow every time a purchase document is released.  Once the trigger is configured for a BC environment, company and the flow is published a workflow will be automatically created in BC.

The approval workflow will require a small amount of configuration depending on your requirements.

We need to filter when it will run so we need to set:

  • Document Type
  • Status
  • Purchaser Code (I want to test this for one purchaser only to start)
Purchase Document Workflow
Event Conditions

The workflow is filtered using the “On Condition” rules.  The response to the approval request is to:

  • add a record restriction so the document can not be edited unless the approval is cancelled
  • Set the document status to pending approval
  • Call power automate flow and send thorugh the details of the approval
  • Create an approvla request in Business Central to allow audit logging

Building the Approval Workflow

When the power automate flow triggers the following json is returned

				
					"body": {
        "Row Id": "ce598560-a226-ju77-bec2-002248868fgrrrea",
        "Workflow Step Id": "46208929-e8e3-48b5-b7f6-42097777b14a",
        "Requested By User Email": "user@company.com",
        "Company Id": "57uiy4443wa-e2d4-f011-95d1-7c1e521d790c",
        "Environment Name": "UAT"
    }


The next steps are:

  1. use the email address to get the user profile of the requester from office 365.
  2. Pass the row ID to get the purchase header record from BC
  3. Pass the header ID from step 2 to get purchase lines from BC
  4. Pass the user email to get the purchaser record for the requester from BC
  5. Pass the approver ID from step 4 to get the purchaser record for the approver in BC
  6. We get the user profile from office 365 for the purchaser

The profile data will allow us to tailor the emails with the names of the requester and approver.  The purchaser reccords will allow us to determin the approval limits for the requester and approver.  The purchase header and lines will be used to pass the details of the request to the approver as they will want to know what is being purchased and for how much.  Also, the amount will be used to check against the approval limits.

Creating the HTML table

The next step is to initialise a string variable and insert code for the table head of the HTML table that will be used in the email.

				
					<table style="border-collapse:separate;border-spacing:0;width:100%;font-family:Segoe UI,Arial,sans-serif;font-size:13px;color:#333;border:1px solid #e6e9ed;border-radius:6px;overflow:hidden;">
  
  <thead>
    <tr style="background-color:#eef2f7;">
      <th style="text-align:left;padding:12px;border-bottom:2px solid #d6dbe1;">Item</th>
      <th style="text-align:left;padding:12px;border-bottom:2px solid #d6dbe1;">Description</th>
      <th style="text-align:right;padding:12px;border-bottom:2px solid #d6dbe1;">Qty</th>
      <th style="text-align:right;padding:12px;border-bottom:2px solid #d6dbe1;">Unit Cost</th>
      <th style="text-align:right;padding:12px;border-bottom:2px solid #d6dbe1;">Line Amount</th>
    </tr>
  </thead>
  <tbody>


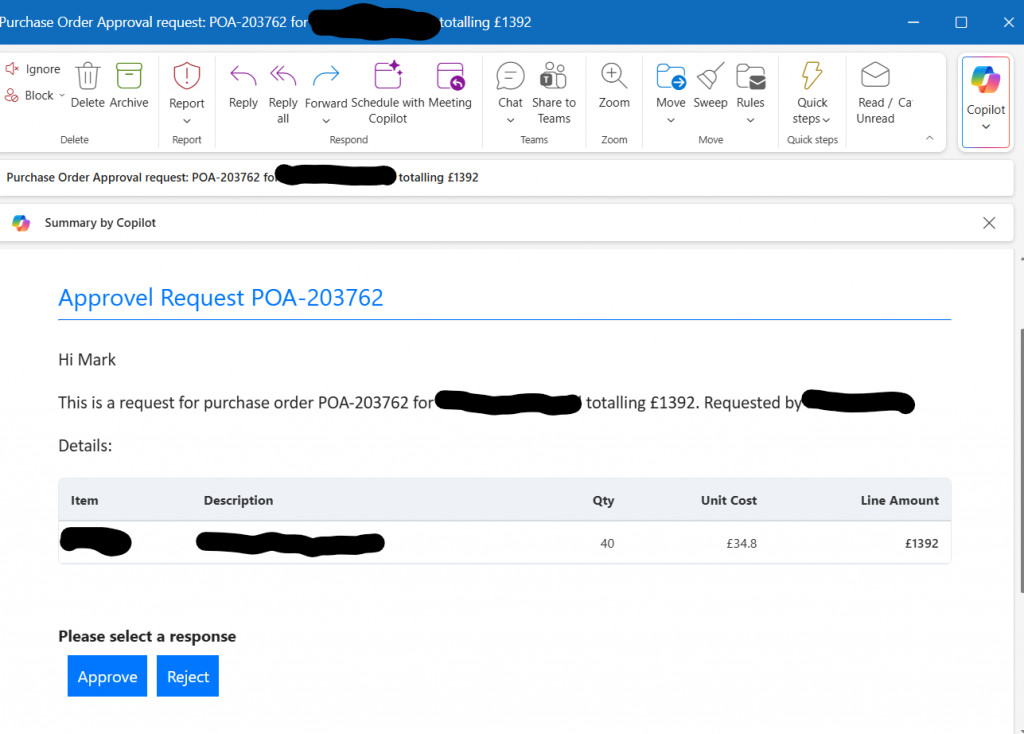
Next we use a “for each” loop to add more HTMLto the string for each purchase line.  Building up the HTML table.

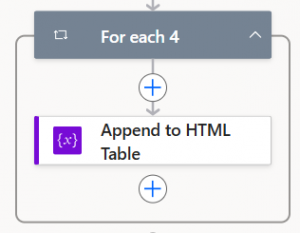
In this step we add this code:

				
					<tr style="background-color:#ffffff;">
 <td style="padding:12px;border-bottom:1px solid #e6e9ed;">@{items('For_each_4')?['no']}</td>
 <td style="padding:12px;border-bottom:1px solid #e6e9ed;">@{items('For_each_4')?['description']}</td>
 <td style="padding:12px;text-align:right;border-bottom:1px solid #e6e9ed;">@{items('For_each_4')?['quantity']}</td>
 <td style="padding:12px;text-align:right;border-bottom:1px solid #e6e9ed;">@{items('For_each_4')?['directUnitCost']}</td>
 <td style="padding:12px;text-align:right;border-bottom:1px solid #e6e9ed;font-weight:600;">@{items('For_each_4')?['amount']}</td>
</tr>


We just need another “append to string variable” action to append the end of the table 

</tbody>
</table>

We have now created a HTML table with the the purchase lines in.

Building the Approval Logic

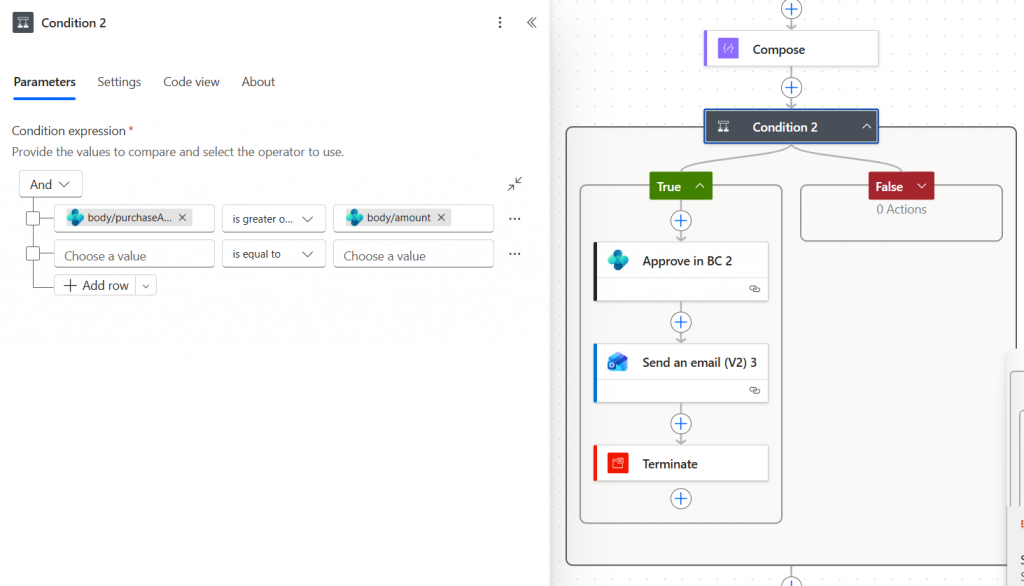
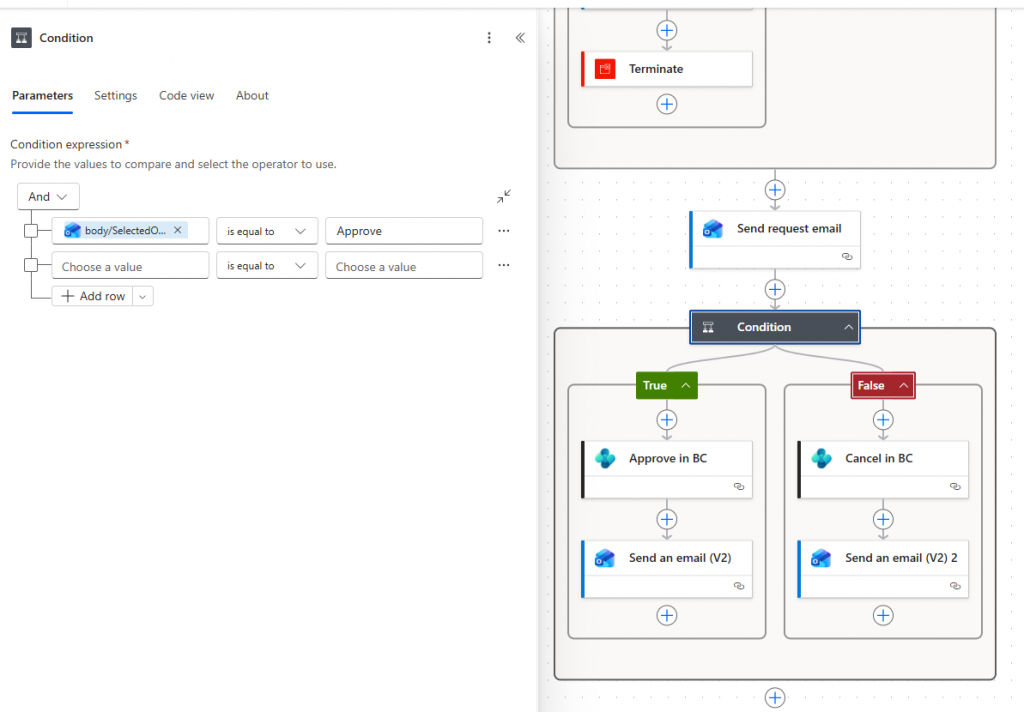
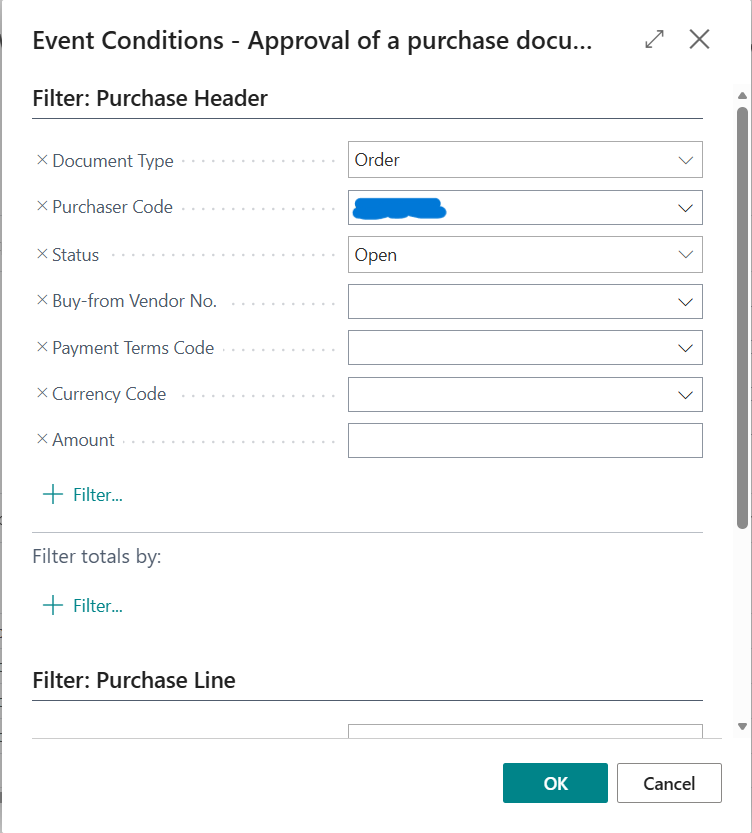
Next we have a condition to check if the requesters purchase limit is greater than or equal to the amount from the purchase hearder.  If it is we approve the purchase request if not we carry on to the next stage of the approval workflow.

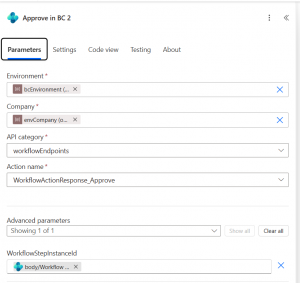
Microsoft provide an API called workflow endpoints.  Using the “run an action” action you can use this api to approve th eworkflow in BC, you need to pass the workflow step instance id you get from the trigger.

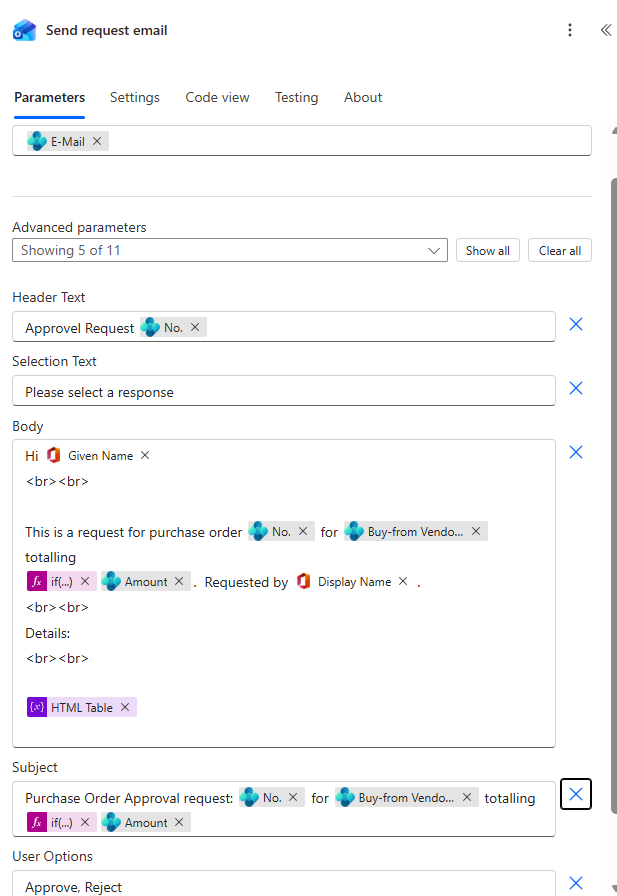
If the approval limit is not big enough we move on and use the “send an email with options ” action for outlook.  In this we use the approvers email in the To box and various other information from previous steps to build up the body and subject.  User options are set to either approve or reject, we could build this out further to forward to someoone else or use alternative approvers in the case of an out of office is set, but that is for another day.

Finally we have a condition looking at the response to see if it is Approved or Rejected.

If approved:

  • Email is sent to requester to let them know
  • Request is approved in BC and the BC workflow will set the document to approved

If rejected:

  • Email is sent to requester to let them know that it is rejected
  • Request is rejected in BC and the document is reopened

The approval email looks like below.

The Result

We have a purchase approval that:

  • Is approved on email
  • Respects approval limits
  • Creates approval entries for auditing
  • Bypasses approvals if the request is within limit
  • Is consistent

This can deffiinitely be built out and be more complex but for now it’s production ready.

Similar Posts

Leave a Reply

Your email address will not be published. Required fields are marked *